First steps with Dappnode
If you are here, you must have already:
a) bought a Dappnode from our store, connected it to the router via ethernet, turned it on, connected to the wifi hotspot and navigated for the first time to my.dappnode
b) installed Dappnode on a device or cloud and connected via VPN and navigated to my.dappnode
First login
The first time you access the Dappnode UI, you will be asked to create a new account on your Dappnode. You will need to supply a username and a strong password. We have the following password requirements:
- Between 8 and 32 characters
- At least one (1) capital letter
- At least one (1) number
- At least one (1) special character (eg. !,?,/)
Once you've chosen a username and a password that matches the criteria posted above, your Dappnode will prompt you with your personal Dappnode recovery token. Keep it safe. If you forget your Username / Password, it will allow you to regenerate them.
caution
Keep your Recovery Token safe in a different place than your Username / Password. If you use a password manager for your Username / Password and you don't have access to that, and you keep the Recovery Token in the same place, you will have no way to access your Dappnode.
On your first login your Dappnode will guide you through some basic configuration settings.
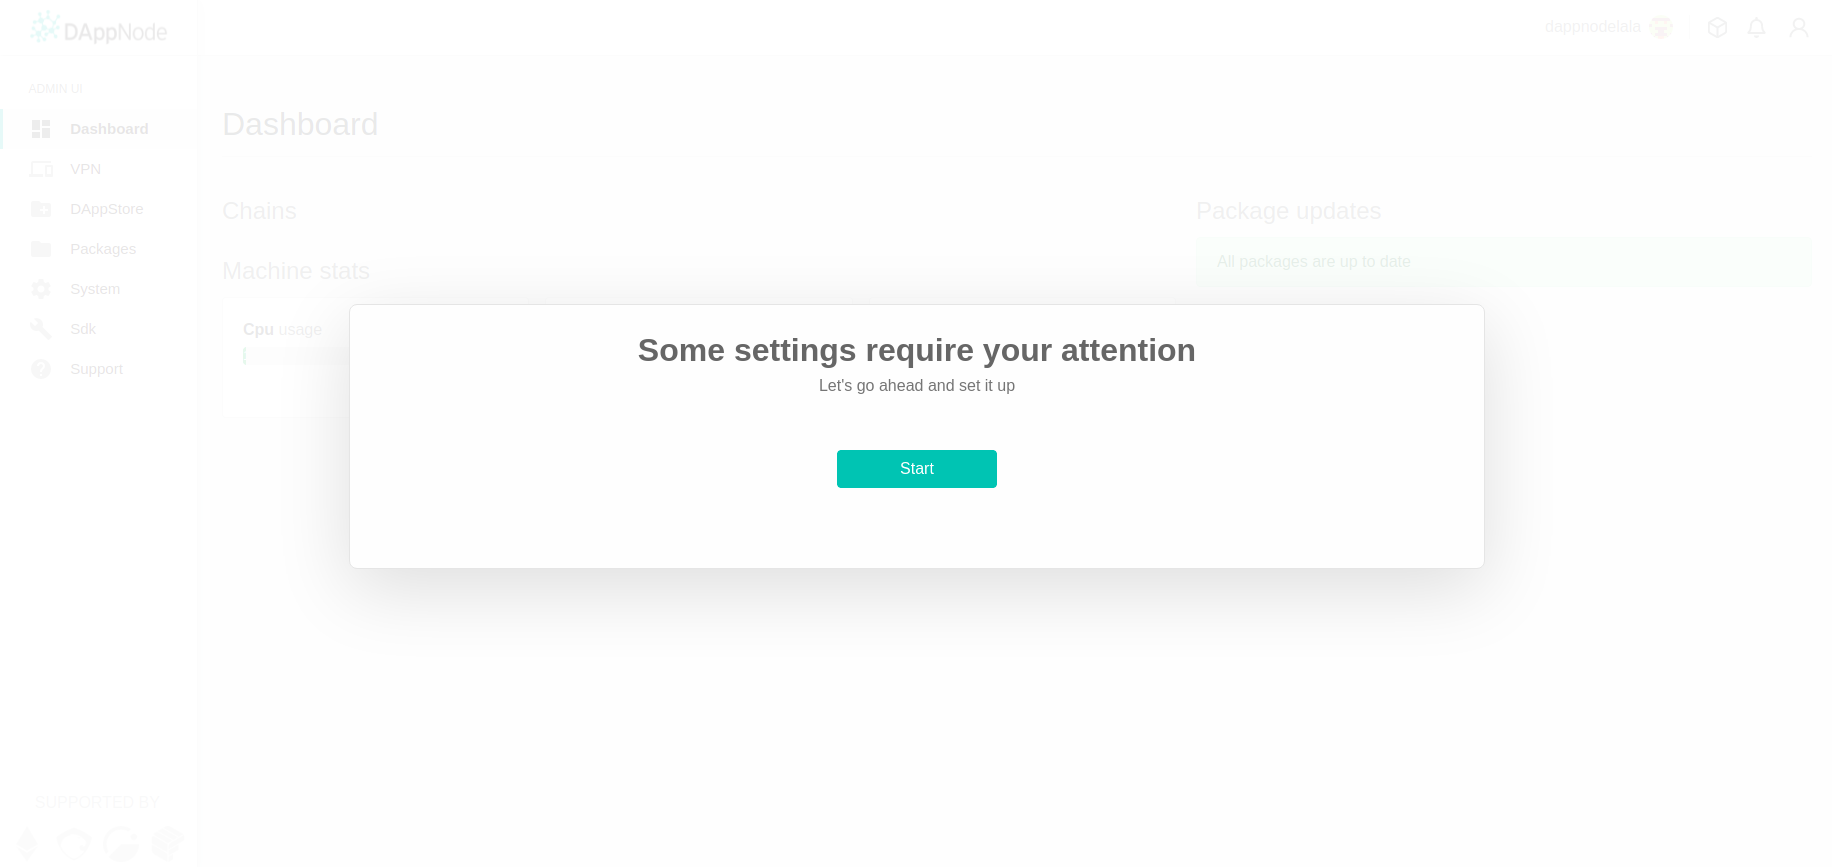
Let's dive in!
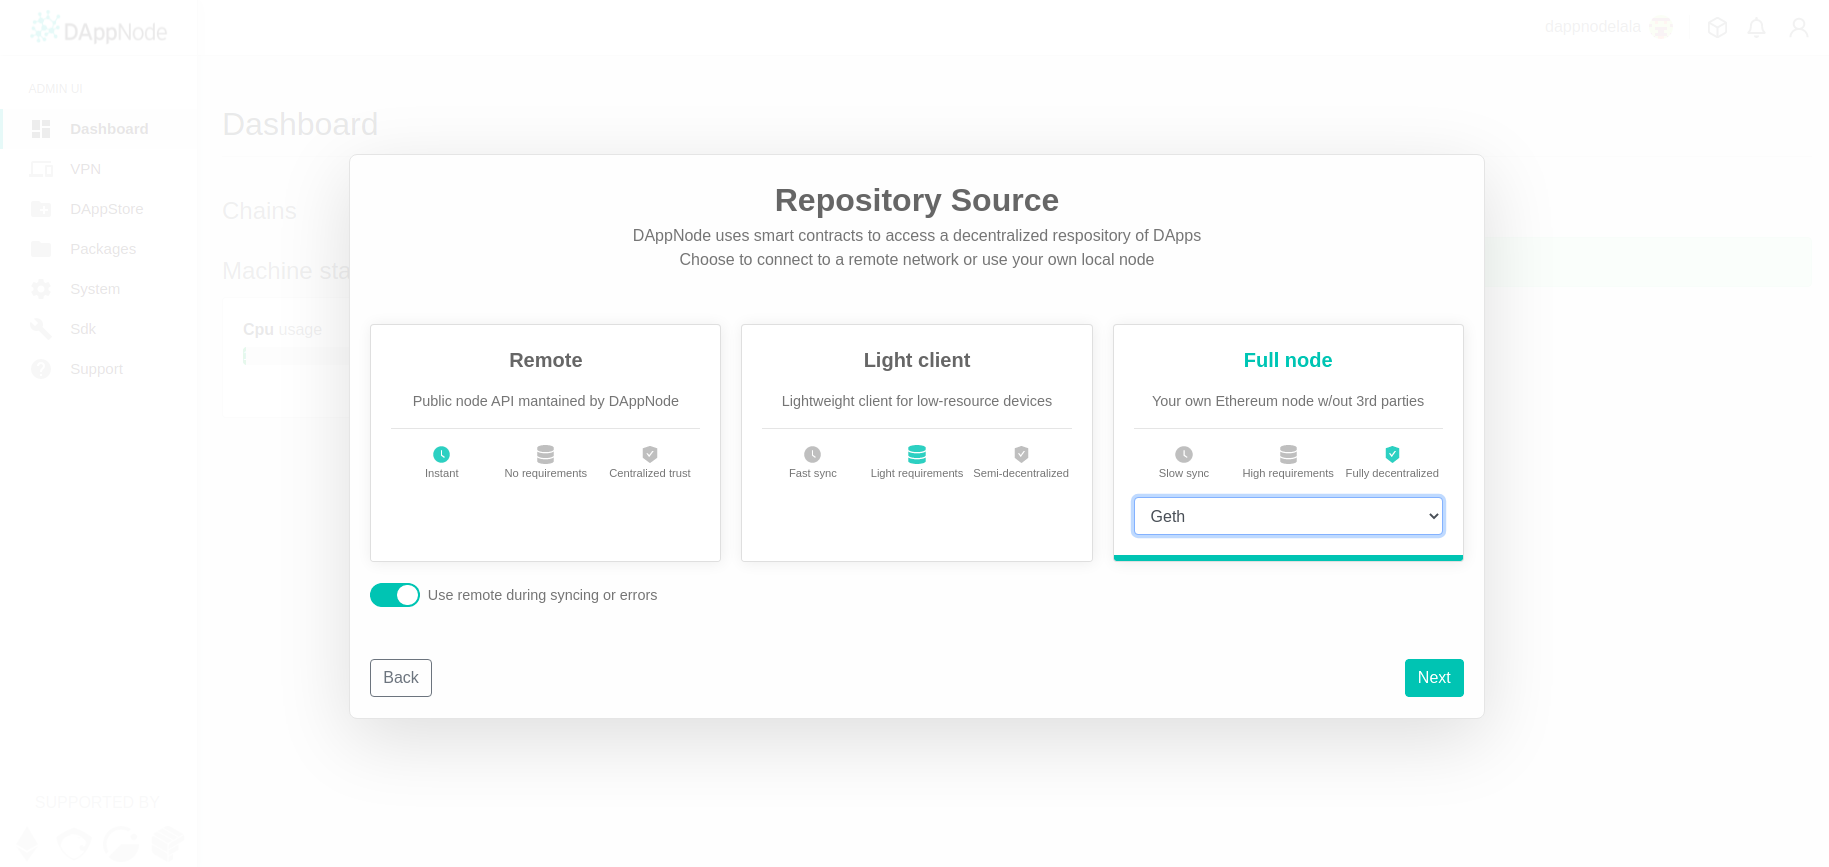
Setting up your repository source
The first thing your Dappnode will ask you about is the Repository Source. This configures how your Dappnode will interact with the blockchain in order to grab packages from the DAppStore.
We have two options available right now:
Full node: This is the most secure and decentralized way of accessing a blockchain. This requires the most resources in terms of bandwidth, storage and CPU.
Remote source: This option is the least decentralized option, as you'll have to trust the full nodes from us, the Dappnode maintainers, to provide you with accurate blockchain data. This uses next to no resources and is well suited for low-power devices or network/bandwidth-constrained networks.
Now that you know what each of the options are, it's your time to choose. We generally recommend the following set-up:
- Use the Full Node option (if your hardware and your bandwidth allows you to)
- Turn on
Use remote during syncing or errorson the bottom left - Select one of the clients listed in the dropdown menu. All of them are tested options . If you need help choosing, you can take a look at the Ethereum Foundation Website regarding 'Execution clients'
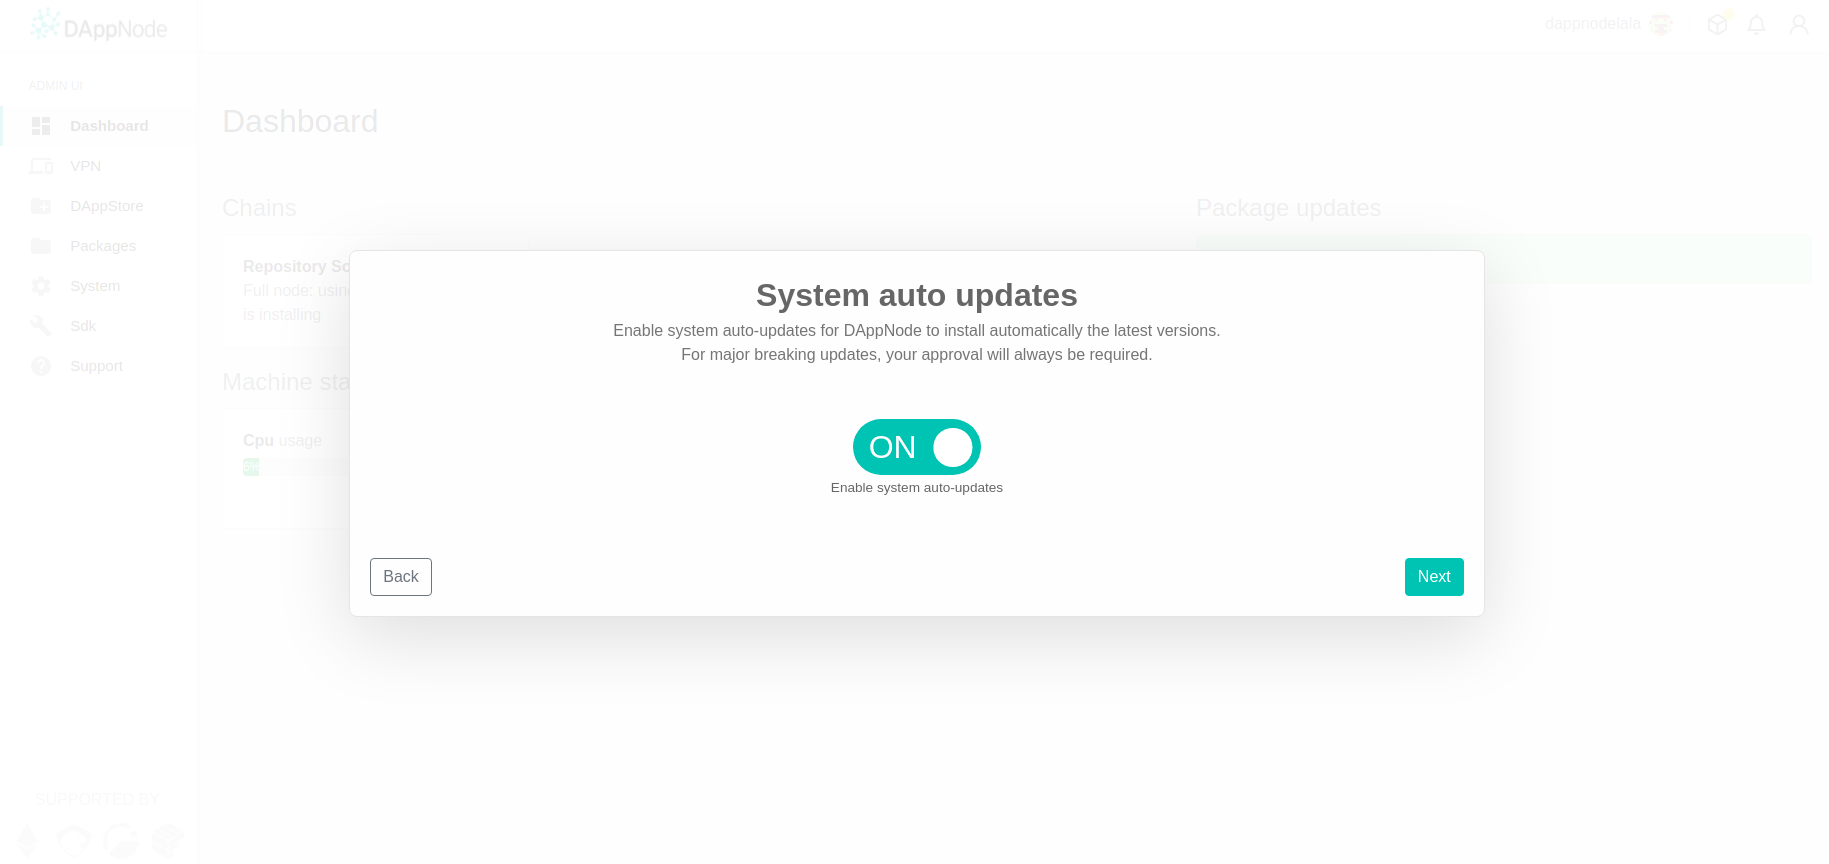
Automatic System Updates
The next window will ask you about automatic package updates for all packages, core packages have automatic updates enabled by default, If you enable this option, all your installed Dappnode packages will be updated automatically when it detects that there is a new version published to the official Dappnode repositories. Roughly 24 hours after your Dappnode recognizes that there is a new version, it will start the update to the new version.
The Dappnode team strongly recommends you leave this option enabled.
⚠️ Note: Major system upgrades will require manual approval, even with Auto Updates enabled for all packages.
You've made it! This screen shows you that the initial Dappnode configuration is complete.
